


Apr 14 2021
Have a website built with the help of Magento eCommerce development company? Are you into B2B eCommerce? This article is for you to help you boos...
View Blog
Apr 7 2021
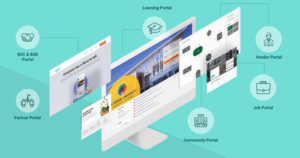
Online shopping businesses are expanding at a rapid pace. Believe it or not, as of 2021, there are around 24 M eCommerce websites running all ove...
View Blog
Mar 25 2021
85% of smartphone users around the world prefer to use mobile applications for e-commerce rather than using a website. E-commerce mobile applicat...
View Blog
Mar 4 2021
Let’s imagine you have started a business, you want to expand it that is why you move towards adopting Digital Marketing strategies to take you...
View Blog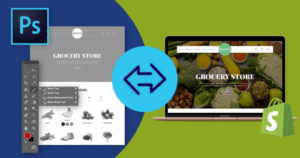
Feb 2 2021
Do you want to convert PSD designs to Shopify templates? Refer this guide carefully to get your PSD designs converted into Shopify templates with few ...
View Blog
Jan 21 2021
There are plenty of things or aspects that can affect the performance in ecommerce business, but some handful of leading aspects can give guaranteed r...
View Blog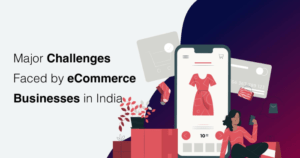
Dec 15 2020
There are lots of different challenges that eCommerce businesses and owners are facing in Indian market.If you are also looking for making out an eCom...
View Blog
Feb 4 2020
As the eCommerce industry is growing, more people are striving to carve a niche for themselves by opening up their own online retail stores. Here we c...
View Blog
Nov 12 2019
IoT seems the futuristic solution for eCommerce businesses, and it may prove a dire need to offer a solution that customers are looking for.
View Blog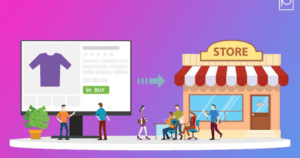
Oct 4 2019
A lot of discussions are going on in the present eCommerce market across the world on O2O commerce strategies for efficient marketing. Many see more p...
View Blog